This is a guest post in a series from Kevin Rinaldi-Young, Content Production Specialist at Leica Geosystems. You can find Leica DISTO in the TOTAL Store here.
In part one of this series (watch it here) we showed you how to use the add/subtract function to measure outdoors when there are obstacles in the way.
This video shows off the DISTO D810 Touch (get it here) Measure in a Picture function. This function is only available on DISTOs that come equipped with a touch screen. Before you watch the video here’s a little primer on how Measure in a Picture works.
How it works:
Laserfinder Camera
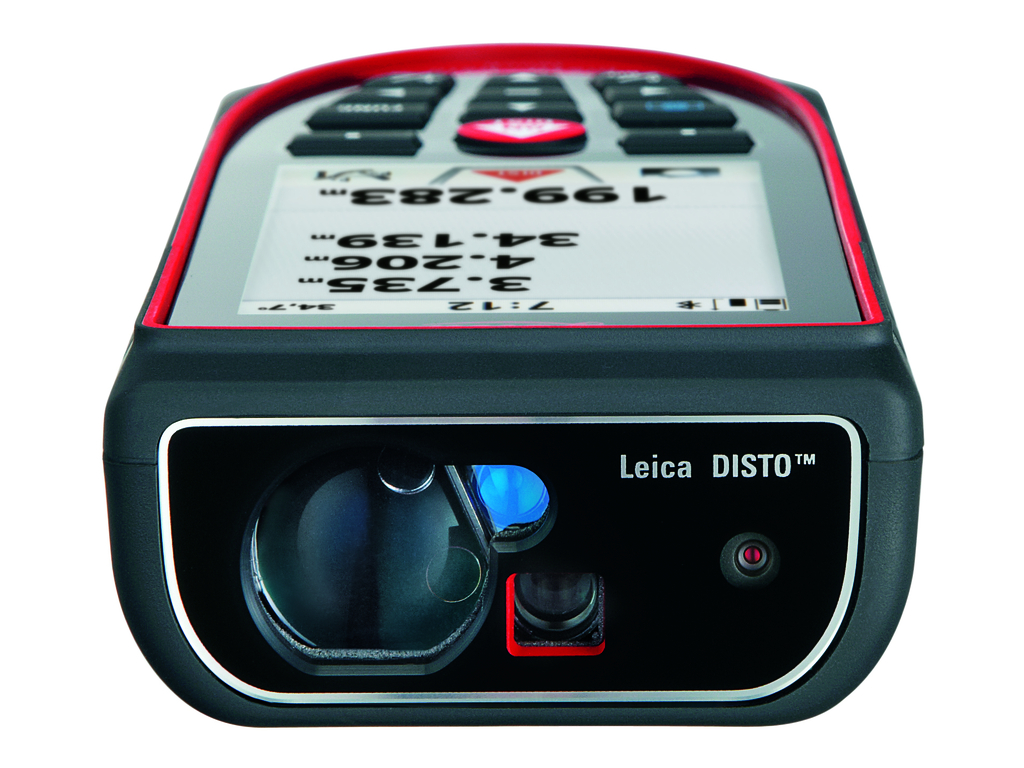
The D810 Touch has a laserfinder camera with 4x digital zoom. The camera is located on the business end of the DISTO right next to the laser emitter (as seen in the image to the right). What the camera sees, the laser dot on the target, is displayed on the DISTO screen with a crosshair.
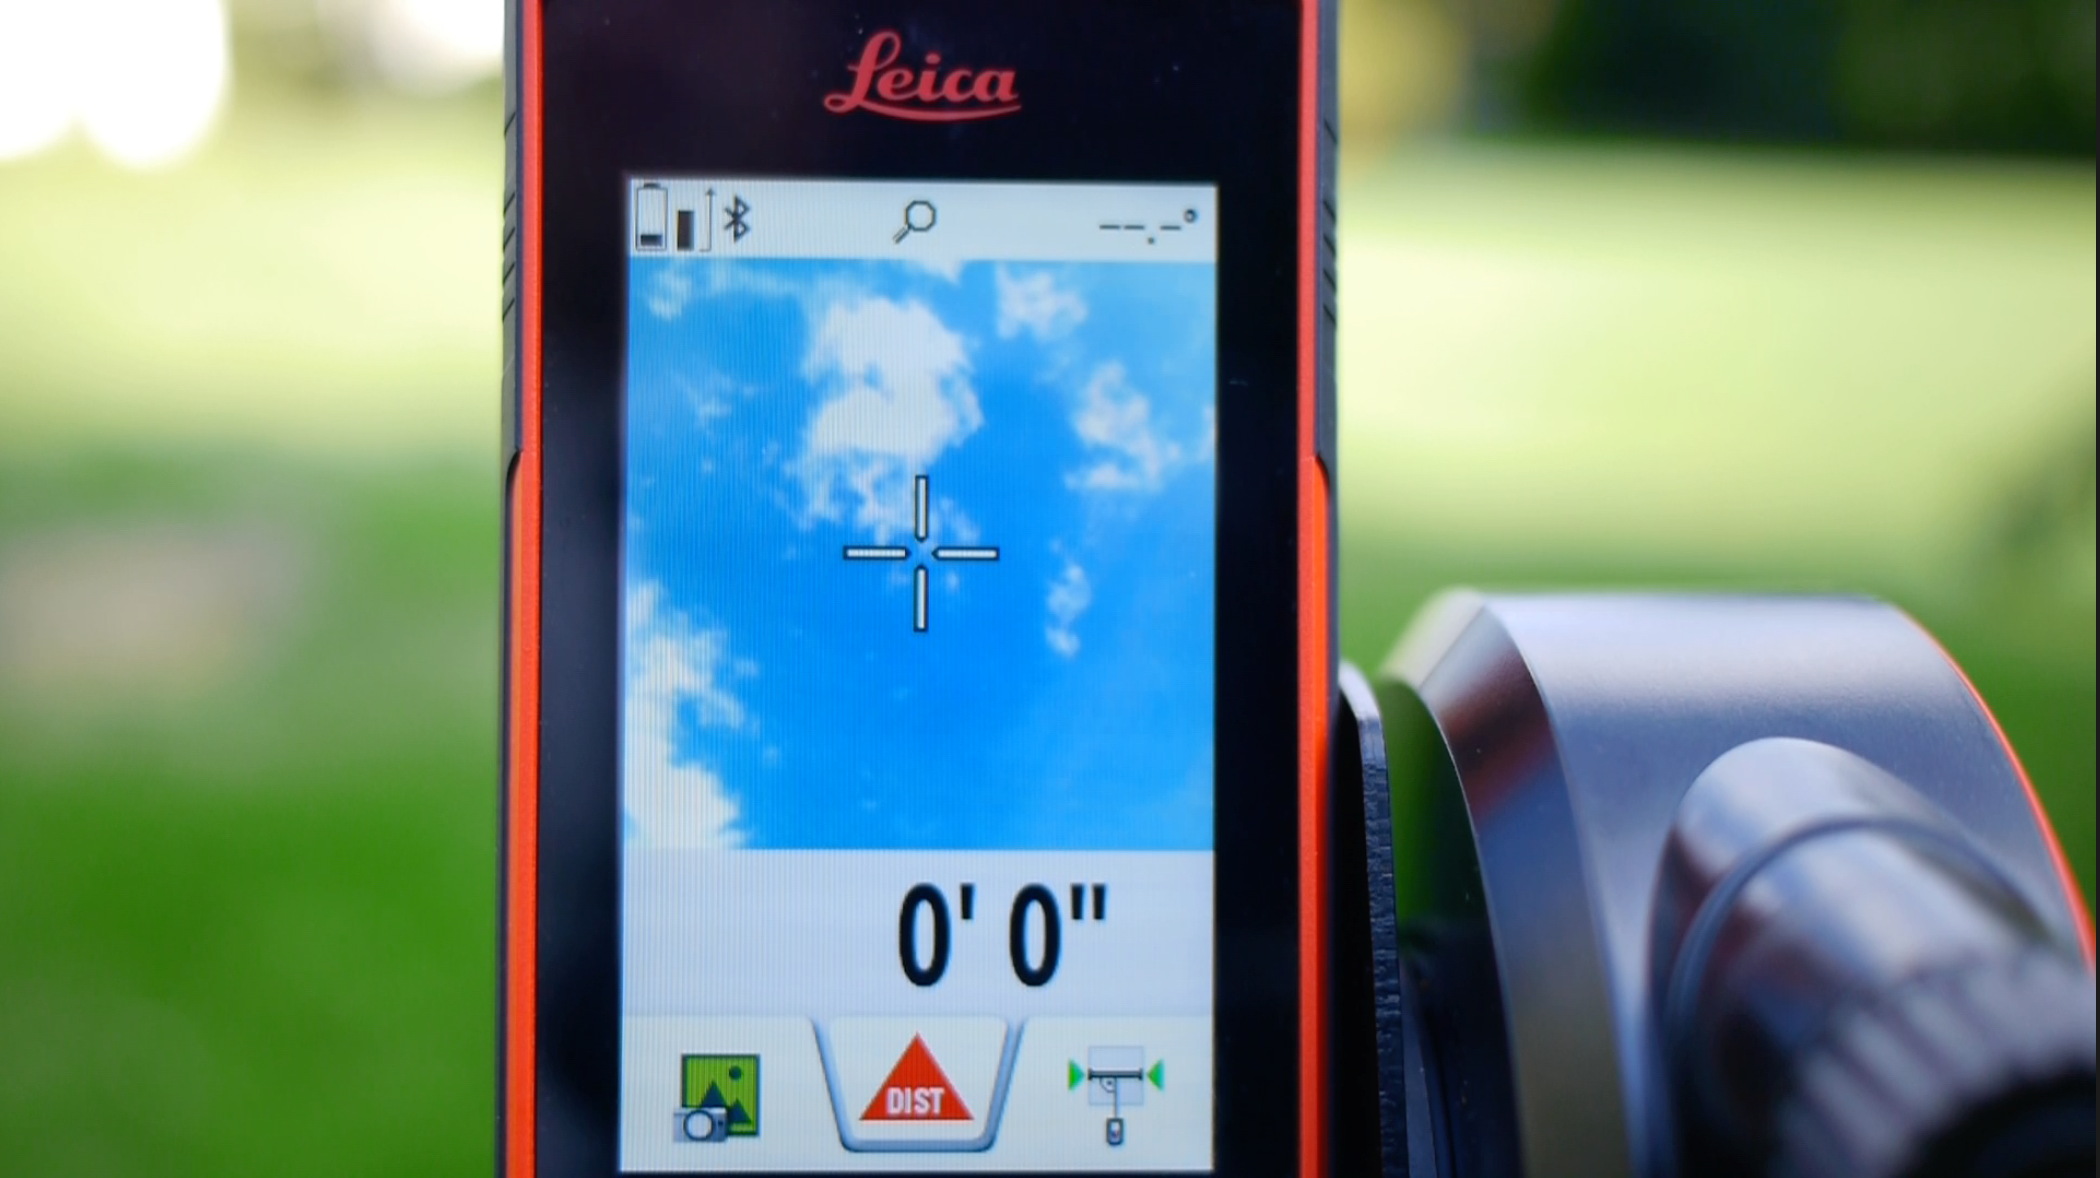
In the image to the left we tilted the D810 up to the sky. No, the D810 doesn’t have that much range. But, you can see from the picture that the color screen has great resolution and that the crosshair in the middle of the screen relates to the exact point where the laser hits its target. The cross hair is a great feature because it tells you where the laser dot is even if you can’t see it in the screen.
The laser finder camera is a huge advantage when shooting outside, in bright light or over long distances because any of those scenarios can make the laser dot difficult to see with the naked eye. I’m imagining a nod of agreement from anyone who has tried to use an LDM outdoors without the camera.
Measure in a Picture (MIP)
Measure in a Picture uses the laserfinder camera to establish the trigonometry between the DISTO, the target and the other elements on the screen.
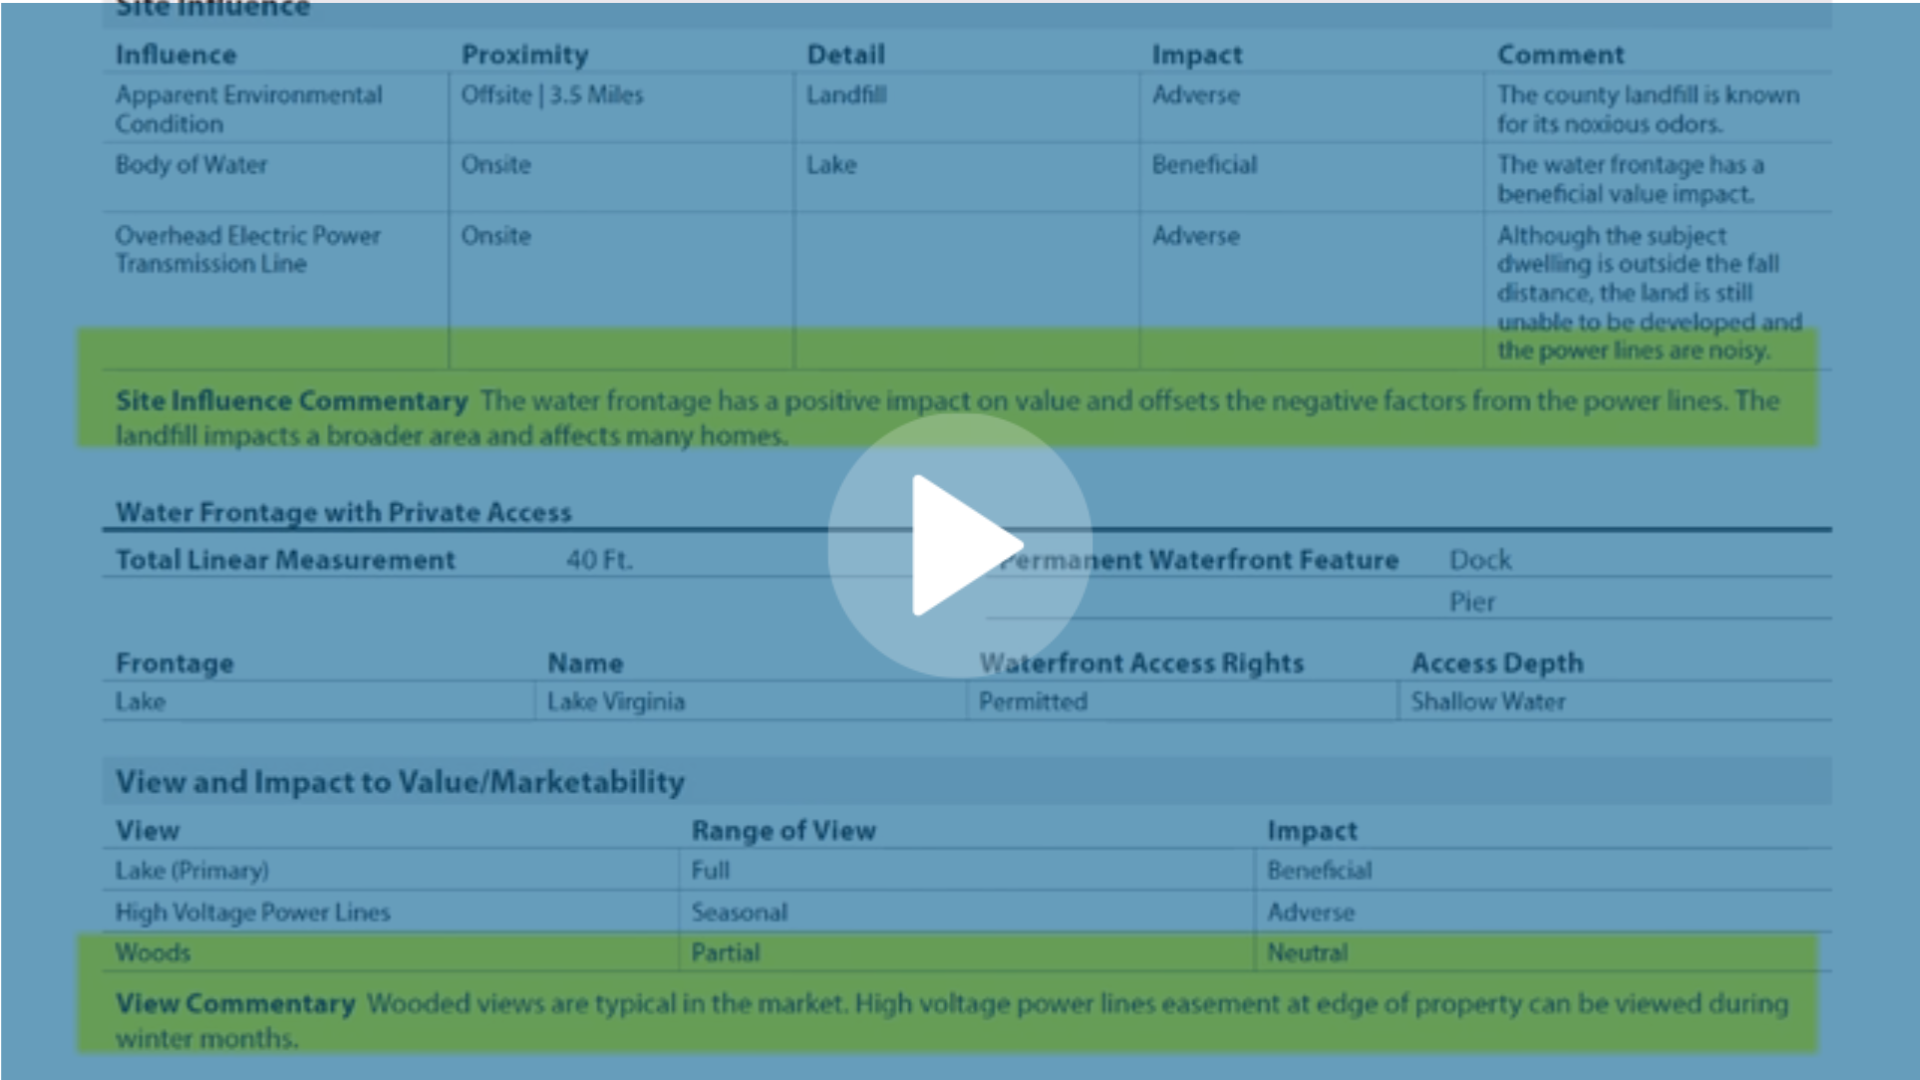
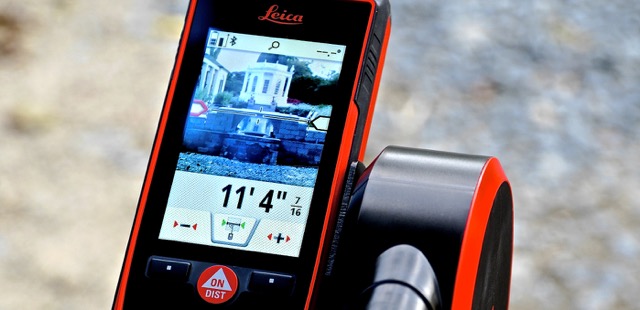
In the picture below you can see that the cross hair is bracketed by two tabs. By touching and dragging those tabs on the screen, or using the plus and minus buttons at the bottom, you can adjust the width dimension in real time. In this photo we captured the width of a bridge that was under construction.
What we used
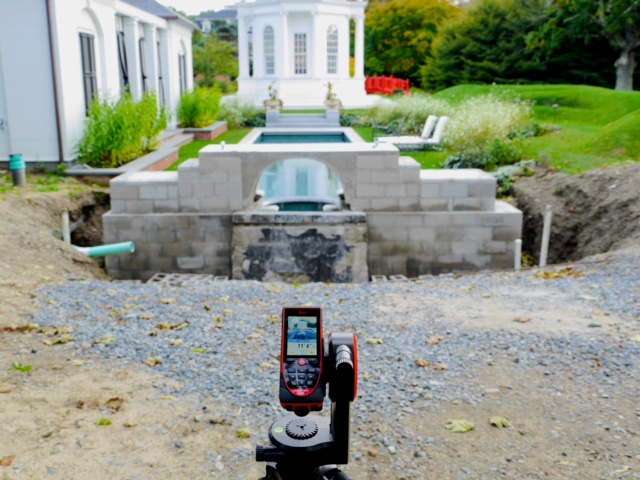
We used the D810 pro pack (get it here) to capture this measurement. The pro pack consists of a light weight tripod, an adaptor with fine tune knobs and a case to keep it all organized. You don’t have to use a tripod to use MIP, but it does make it more accurate and stabilizes the laser dot.
Pro Tip
Measure in a Picture will net you roughly 1% accuracy. You do have to stand back a ways from your target if attempting to measuring the entire length of a house because of the field of view of the camera.
See it in action
In this video we are back with DISTO Pro John Rowles at a single family colonial in Newport, RI measuring the width of a bump out.
Happy Measuring,
Kevin